Sunday, October 16, 2011

Simplicity 2569: Bodice Progress


I am making some good progress on my daughter's witch costume.  So far I have sewed a full lining for it and assembled the bodice in the fashion fabric.  I also added a faux placket to the bodice front and drafted a collar that will echo the peplum that this dress will have at the waist.  Here it is so far (with the underskirt just sort of pinned on)...


To draft my collar I taped the bodice front and back pattern pieces to each other along the stitch line of the shoulder seams and I taped those pieces down onto my mat like so.


Then I layed a piece of tracing paper on top of the original pattern pieces and taped it down too and I traced the neckline and the center front line.  I also marked the seam line for the center back. 


Finally I just used a ruler and a french curve to draw a collar that suited me, starting and ending the collar inside the center front and back lines.  I went for a pointed shape that would look similar to the shape of the bodice peplum I am using.  I added in a 1/4 inch seam allowance to the outside curve.  I used this pattern piece to cut 4 from my fashion fabric and 2 from interfacing for my collar. 


For the faux button placket I just cut 2 rectangles from the black satin that were 1 1/2" wide and as long as my bodice pattern piece at the center front.  I put them right sides together and sewed with a 1/4" seam allowance.  Then I turned my tube and pressed it from the back only and edge stitched it to the bodice.  I have some black buttons I'm going to add and I'm also planning to do a little bow at the neck and waist in black velvet ribbon.  However - I've edited out my beloved puffy shoulders!  They just seemed like too much with the collar and the ribbon.  It was hard to let the idea of those puffy shoulders go but I think the bodice looks right now without them. 

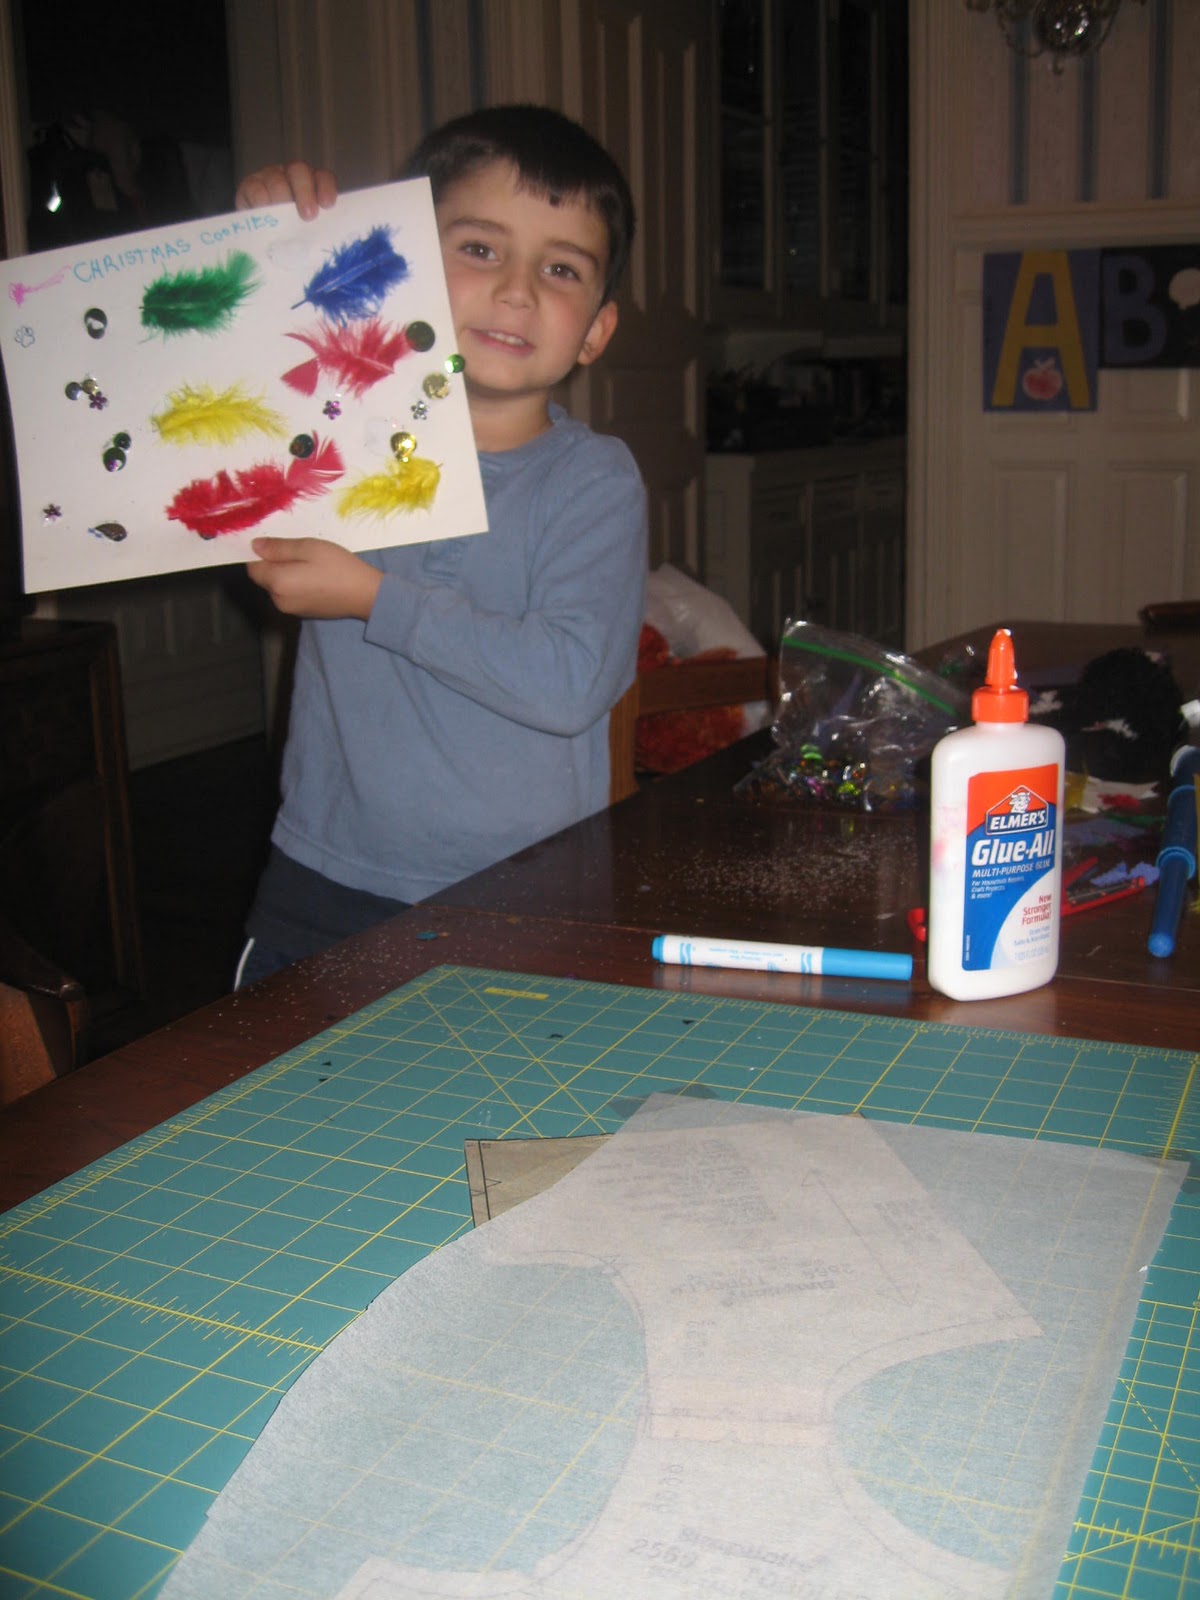
My son was working right along side me on his own project and when he saw me get the camera out he wanted to photograph his work too!  I like this shot because it shows how stuff is happening right outside the frame of the pattern pictures above.  No quiet time around here!  So cute...


 It's coming together well so far.  Next I'll work on the underskirt and the overskirts.  Here are the cut pieces for the organza layers of the overskirts. 

Keep your fingers crossed that I don't get buried and lost forever under a huge mountain of sparkly organza!

Monday, October 10, 2011

Simplicty 2569 - Toddler's Witch Costume

I love Halloween and now that I have kids it is more fun than ever.  This year my boys have decided to be Jedi.  Specifically, they will be Anakin Skywalker and Obi Wan Kenobi.  Most of the components for their costumes were purchased online or pulled out of our toy boxes and dresser drawers. 
But for my daughter I decided to go all out and make her a witch costume since this is probably the last year that I'll be able to pick her costume with little or no input from her.
My favorite movie of all time is The Wizard of Oz so when I think "witch" I think Wicked Witch of the West.  I wanted my daughter's costume to have lots of the same elements that Margaret Hamilton wore in the MGM film.


Most important to me were the fitted bodice with long sleeves and puffed shoulders, plus a long swirling, gloomy skirt.  As I was looking for a pattern, Simplicity 4024 caught my eye because it is a Wizard of Oz pattern, even though no Wicked Witch is pictured. 


The line drawing for Glinda's costume (view B) actually looks like it would make a pretty good witch costume.  It has most of the elements for my witch's dress - fitted bodice, long sleeves with a puff shoulder and a long skirt.


Rendered in gloomy fabric instead of pink frothy fabric I think it could work for a witch.  However, that neck line was not at all what I wanted.  My witch will be much too wicked for a v-neck line.  I was looking for something prim but spooky - like the fabulous Miss Wednesday Addams would wear...


She is so scary!  I love her.  Ok, back to the pattern selection...

I finally found this one, Simplicity 2569.  If you look past the pastel tulle used in most of the views and all of the frilly Tinkerbell-esque peplums you can see that this dress pattern meets my requirements pretty well.  Puff sleeve option?  Check.  Long skirt?  Check.  Fitted bodice upon which I can work my prim, yet creepy embelishments?  Check. 

Yesterday I dragged my 3 year old son through Joann's to purchase the pattern (thank you Columbus Day $.99 pattern sale) and all the fabrics.  I avoided the costum satins and went with a nice black satin from the bridal fabrics line (used a 50% off coupon for that).  I found a bolt of crushed organza in orange on the red-tag clearance shelf (50% of the clearance price!).  I also picked up a couple of yards of black tulle with spiders and sparkly webs on it (60% right now at my Joann's).  For trim I purchased black velvet ribbon.  I will be making the size 1 for my daughter.  Can't wait to start putting this dress together.  Anyone else making Halloween costumes right now? 

Friday, September 23, 2011

Mod Sampler Quilt in City Weekend Fabric

When I was digging through my fabric stash to find prints and solids for the Threaded Mess Block Drive I realized that my sewing supplies and fabrics were in total disarray.  So I did alot of sorting, folding and organizing.  It felt great to get everything in order and I found quite a few patterns and pieces of fabric that I forgot I had.  For instance, I found quite alot of fabric from the City Weekend line by Oliver + S.  I thought I had used up most of my City Weekend stash but it turns out I had 1/4 yard cuts, 1/2 yard cuts and even 1.5 yard cuts of several prints!

I decided to try to use up my City Weekend since Oliver + S is due out with a new line called Cape Ann and I know I will want to purchase some of these new prints when they hit stores in October...


  How can I justify stashing a bunch of Cape Ann when I still have so much City Weekend on hand?  I can't - so I must sew first, then shop. 

I'm pairing my City Weekend prints with solids in pink, blue, yellow, green and grey and using the free Mod Sampler Quilt pattern (by Elizabeth Hartman of Oh, Fransson).  I'm thinking that I will do 2" rows of white sashing.  Binding color is still up in the air.  I will probably do a pieced back but I'm waiting to plan that untill I see what fabrics and amounts I have left over after I've pieced the front. 

Here are some of my completed blocks.  I have really been enjoying the simple piecing work for these blocks.  Relaxing late night sewing during these stressfull back to school times!


Thursday, September 22, 2011

And now a break from your regularly scheduled programming...

This blog is about my sewing projects but I thought I'd do a couple of posts here about a small renovation project I've got happening at our house right now.  We have a small room, just to the left as you enter our front door.  This is a little sitting room that is about 6'x10' with 11' ceiling, wainscoating, great moldings, an original fire place (not currently in working order) and windows on 2 walls.   When we bought the house 5 years ago this little room had fabric glued to the walls and ceiling.  The fabric was blue with huge faded pink roses all over it and rips and holes in the fabric here and there where previous owners had hung things on the walls.  Not good.  Today the room looks like this...


Generally, when we do some type of work on our house my main goal is to upgrade the wiring and add modern conveniences without loosing the original character of our 100 year old home.  So far my husband has pulled the fabric off the walls and ceiling and we have had new windows installed - I chose windows with a row of cottage panes at the top to match the look of the original double hung windows we still have in some other rooms of the house. 


This room gets plenty of day light but at night this sconce is the only current source of light in the room - it is hot wired and you screw the light bulbs in and out to turn in on and off. 


An electrician will come next week to wire the room for a ceiling fixture and light switch.  I chose this hanging fixture:


Then my plaster guy will come rehab the walls including any damage done by the electrician.  Currently the walls have alot of this going on:


Then comes the fun part - paint, window treatments, furniture and stuff for the walls. 

The room will be used as a sitting room and a place for guests to hang their coats and catch their breath as they come into the house.  There isn't alot of room for furniture and the like.  Maybe one nice chair with a side table?  The ceilings are high though and I'd like to draw the eye up.  I would love to find BIG art work to hang.  My current thinking is that I will keep the walls, upholstry and window treatments nuetral and bring in big swaths of color with the art work and other accents.  However, I'm nervous about over doing it because the room already has alot of architectural interest with all of the wood moldings and such.  We'll see how it goes.  I am no decorator and constantly agonize over what to do with our house.  I'll show some more pictures as soon as we have some progress!

Sunday, September 4, 2011

Rainbow I Spy Block Drive at Threaded Mess


Natalie writes Threaded Mess and she is hosting a block drive for quilts that she will donate to her local NICU.  She is asking that people send in 12.5" blocks made up in a single color (novelty prints, tone on tone prints and solids).  The blocks need to be made using a Square in Square pattern. 

Anna Maria Horner did a one-page .pdf with instructions on how to make the 12.5" Joseph's Square in Square block and you can download it here.

She is hosting her block drive in 3 rounds.  I missed round one which closed on 8/30 but I'm going to try to participate in rounds 2 (closes 9/30) and 3 (closes 10/30). 

Here are my first batch of blocks for Round 2. 

I spy pink roses ...


And I spy pink ships...


I so wish that I had remembered to cut the ships on point... but that ship has sailed.  (GET IT - SHIP!  Ok, I know, lame.)

I'm going to put these in the mail to Natalie within the next couple of days and hopefully I'll be able to send her a couple more before the month is out.  This is an open block drive so you can skip over to Threaded Mess and join the fun! 

Saturday, September 3, 2011

Buttercup Bags Made with Parisville Prints

I made two bags using the free Buttercup Bag pattern from Made By Rae.  I had some fat quarters from the Parisville line by Tula Pink and I have been saving them to use on a project for myself.  I finally cut into them to make these bags.  I love the Parisville line and Tula Pink is great.  I love her too.  I love illustrations that draw you in with inviting or exciting, happy colors and then once you get close you realize that there is something off about the details, something unexpected that makes the whole thing come to life.  Tula Pink does that so well.

Ok, so here are my bags...


Here you can see the lining and the interior pocket.  I used a designer solid from Free Spirit for the lining.  This was my first time applying a magnetic snap - they were easy peasy.


I left off the strap because I'm not going to use these as hand bags.  I'm actually going to use then to store my most frequently used sewing notions - scissors, rotory cutters, seam gauge, fabric marking pens etc. 

Overall, I'd definetly recommend the Buttercup Bag pattern to anyone who is looking for a quick, fun project for those fat quarters in your stash that you are itching to use.  However, if you are going to make this as a handbag I would fully interface the lining instead of just a 1.5" area under the snap.  I would also consider using something heavier than quilt weight for the outer.  I think home dec weight would work well and give the bag a little more structure.  My bags are a little floppy. 

Anyone else making something for themselves right now or has it been all Back to School sewing at your house?

Friday, September 2, 2011

Basic Grey Origins: Throw Pillows

I have had one of the prints from the Basic Grey Origins line in my stash for quite a while.  I had a yard and a half of it which makes me think that when I bought it I was planning a dress or something for my daughter.  Anyway, this past weekend I paired it up with some Kona solids and made new throw pillow covers for my living room. 


The old ones needed to go.  They used to be made from a nice green silk that I bought before I had kids.  Now they were gross - so stained and one even was starting to rip (one too many pillow fights or play fort construction disasters I guess).
 
I did super quick rectangle piecing for the fronts and quilted in random groups of 1/4" channels.  Then I did a nice pocket opening in the back and I was done.  3 quilted pillows in one weekend!  Hurray for Basic Grey!  I still have about a yard of the print left so it may still end up in Aurelia's wardrobe after all.