I am making some good progress on my daughter's witch costume. So far I have sewed a full lining for it and assembled the bodice in the fashion fabric. I also added a faux placket to the bodice front and drafted a collar that will echo the peplum that this dress will have at the waist. Here it is so far (with the underskirt just sort of pinned on)...

To draft my collar I taped the bodice front and back pattern pieces to each other along the stitch line of the shoulder seams and I taped those pieces down onto my mat like so.

Then I layed a piece of tracing paper on top of the original pattern pieces and taped it down too and I traced the neckline and the center front line. I also marked the seam line for the center back.

Finally I just used a ruler and a french curve to draw a collar that suited me, starting and ending the collar inside the center front and back lines. I went for a pointed shape that would look similar to the shape of the bodice peplum I am using. I added in a 1/4 inch seam allowance to the outside curve. I used this pattern piece to cut 4 from my fashion fabric and 2 from interfacing for my collar.

For the faux button placket I just cut 2 rectangles from the black satin that were 1 1/2" wide and as long as my bodice pattern piece at the center front. I put them right sides together and sewed with a 1/4" seam allowance. Then I turned my tube and pressed it from the back only and edge stitched it to the bodice. I have some black buttons I'm going to add and I'm also planning to do a little bow at the neck and waist in black velvet ribbon. However - I've edited out my beloved puffy shoulders! They just seemed like too much with the collar and the ribbon. It was hard to let the idea of those puffy shoulders go but I think the bodice looks right now without them.
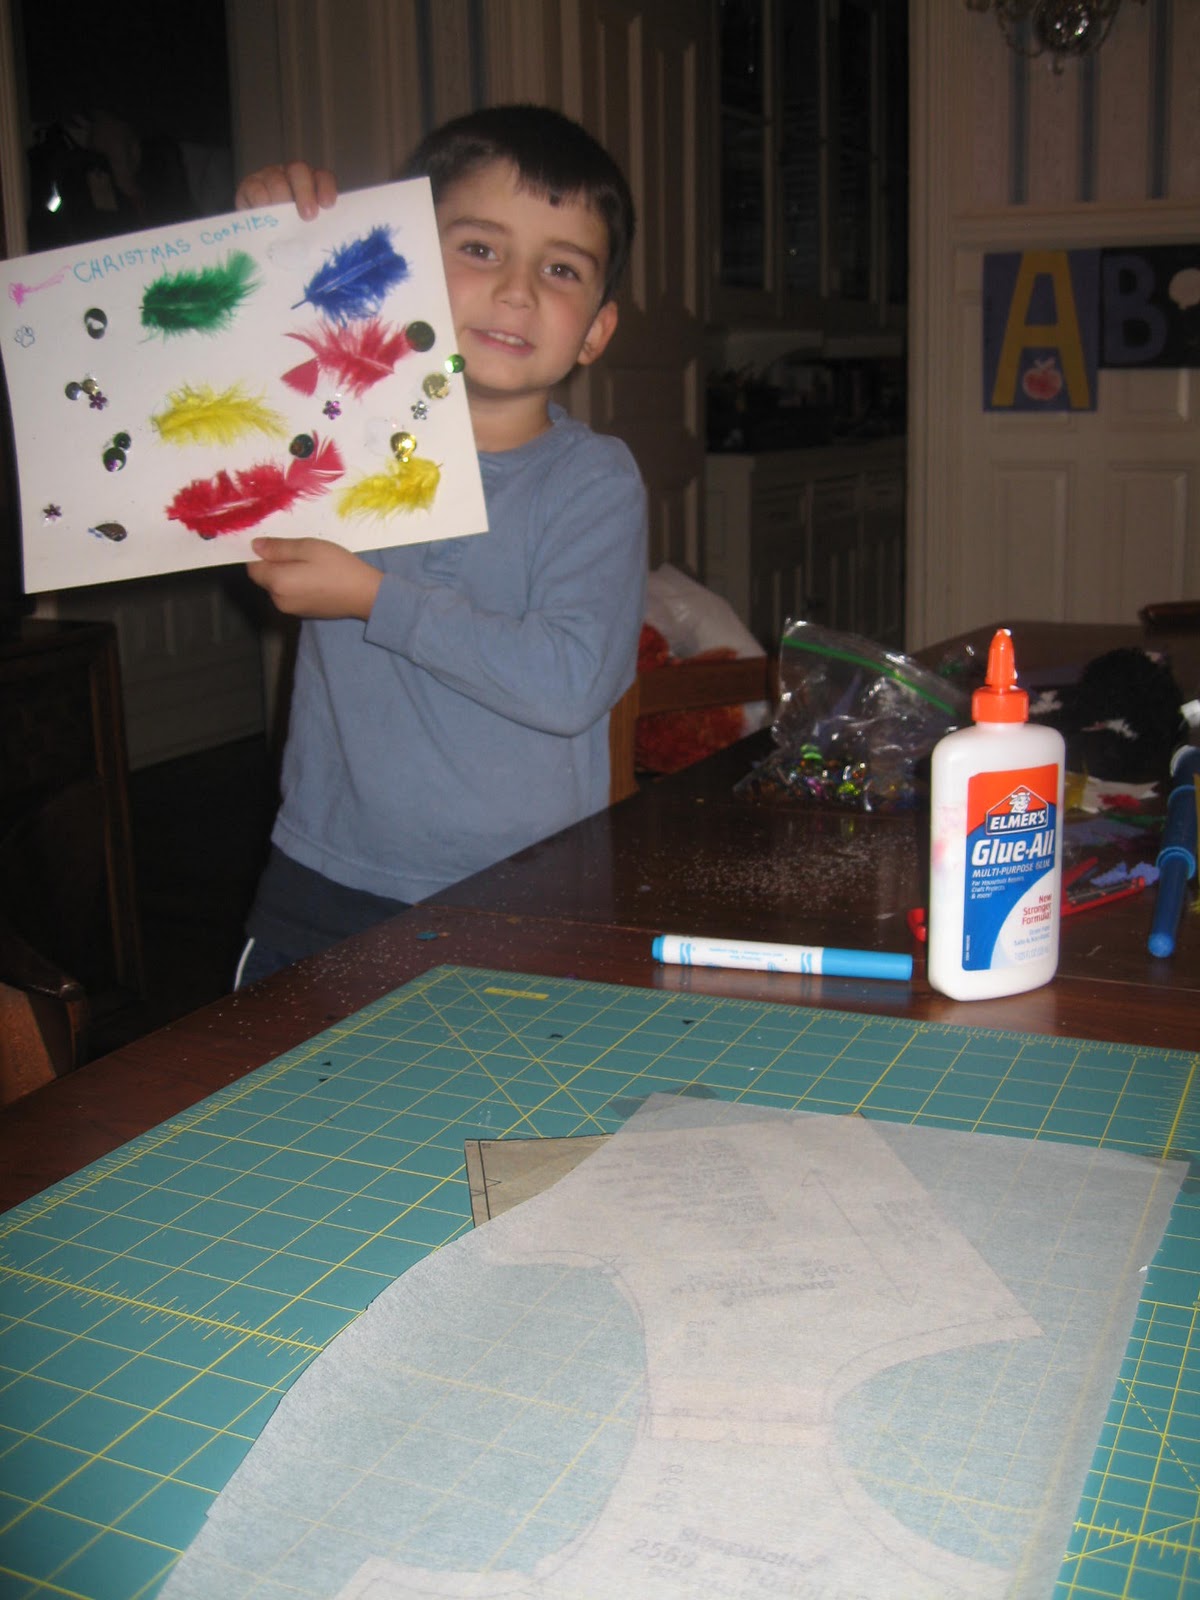
My son was working right along side me on his own project and when he saw me get the camera out he wanted to photograph his work too! I like this shot because it shows how stuff is happening right outside the frame of the pattern pictures above. No quiet time around here! So cute...
It's coming together well so far. Next I'll work on the underskirt and the overskirts. Here are the cut pieces for the organza layers of the overskirts.

Great job on the bodice and thanks for the tutorial on making the collar.
ReplyDeleteThanks - glad the collar pattern pictures are helpful!
ReplyDelete- Liz